
Pizza is one food that just about everyone can agree on loving from an early age. Even my two-year-old loves pizza night. The love of pizza not only transcends generations, it spans the centuries. Forms of pizza have been a beloved food since ancient times. Records show flat breads topped with vegetables, herbs and cheeses from ancient Greek, Persian and Trojan cultures. It wasn’t until the 18th century, though, that the somewhat newly introduced tomato plant made its way into flatbread recipes in Naples. At that point, pizza as we know it was born.
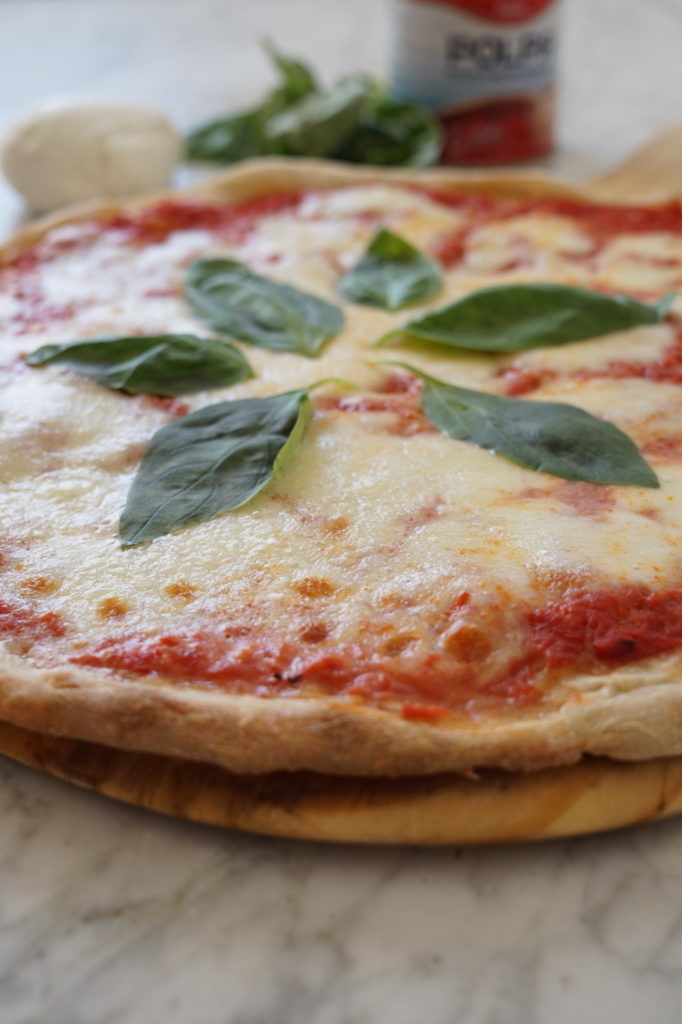
My son and I share a love for the simple margarita pizza, made with just pureed tomatoes, salt, fresh mozzarella and basil. I have to admit that I often sneak some minced garlic into my tomato sauce, though it’s not the traditional way to make margarita pizza. The story goes that the Margarita pizza was named in honor of Queen Margarita II of Savoy, and features the three colors of the Italian flag: red, white and green.
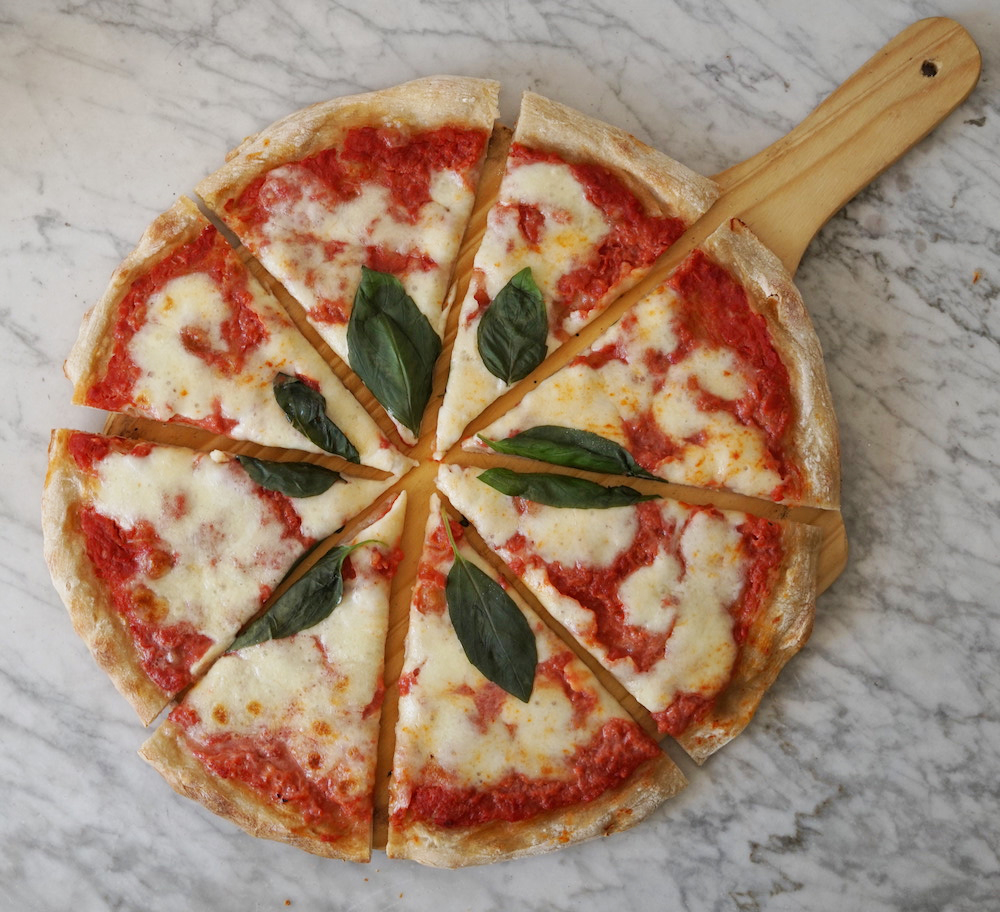
Conebella Farm’s fresh mozzarella makes the perfect topping for Margarita pizza. Typically when I bake my pizzas at home, I will first fire up the oven to the highest possible setting – 500 degrees Fahrenheit or more with the convection setting on, placing my pizza stone in the oven while it preheats. Then I’ll oil a non-stick aerated pizza pan, lightly flour my dough and stretch it out on the pan. For a tomato-based pizza I’ll spread just the pureed tomatoes mixed with salt and garlic out on the dough. Then once the oven is hot, I’ll pre-bake the crust with the tomato sauce on it. Once the dough is cooked but not burned I’ll add the cheese and other toppings. I never set timers, I just watch it closely. It only takes a few minutes for each stage, but since oven temperatures vary, as do the amounts of cheese and other toppings, it’s best to just check it every few minutes.
For the full dough recipe, click here to watch the cooking class at Weaver’s Orchard and find the recipe. This recipe takes a little bit of time to learn, but it’s well worth mastering.
[button link=”https://www.weaversorchard.com/bruschetta-artisan-pizza/”]Get Pizza Dough Recipe[/button]
Additionally, if you prefer a little bit of a simpler recipe that still calls for overnight fermentation, check out this related recipe. You may need to add a little bit more flour to it if using it for thin-crust pizza vs. a thick focaccia crust.
[button link=”https://www.weaversorchard.com/focaccia-pizzas/”]Get Focaccia Pizza Dough Recipe[/button]
Find the pizza recipe below.
PrintMargherita Pizza

- Prep Time: 15 mins
- Cook Time: 10 mins
- Total Time: 25 mins
- Yield: 8 slices 1x
Ingredients
- 1/3 cup pureed tomatoes
- 1 clove garlic
- 1/4 tsp salt
- 1/4 tsp dried oregano (optional)
- Dash of pepper
- 8 oz fresh mozzarella
- A handful of fresh basil leaves
- 1 recipe pizza dough
- + oil for the pan and flour for the dough
Instructions
- Follow dough recipe of your choice. (See links above for suggestions)
- Preheat oven (with pizza stone in it if using one) to 500 degrees Fahrenheit using the convection setting if you have one.
- Oil a pizza pan – my preference is to use an aerated pizza pan set directly on a pizza stone.
- Shake some dough out onto a clean countertop. Take the dough ball and work it a few times on the floured surface, pressing it out to about 1 inch thickness. Pick up the dough and stretch it out with your fists a little bit, then transfer to the oiled pizza pan.
- In a medium bowl, mix together the pureed tomatoes, garlic, salt and pepper. If desired, add dried oregano too.
- Spread the tomato mixture over the pizza dough. Place in preheated oven (without cheese yet) approximately 4-7 minutes, until the outer crust is no longer doughy, and the tomato sauce starts to dry out a little bit.
- Break the cheese into bite-size chunks, arrange over pizza and return to oven. It’s ok if not all of the pizza is covered in cheese. Bake another 4-7 minutes until cheese is melted and crust is crispy.
- Allow to cool 3-5 minutes, then add basil leaves and serve.